Have you ever wondered what it would really take to convert some or all of your lawn to a raised bed garden? Well, I did it this year and it was almost easy. Yes, I said easy. My need for a new garden was the result of a move. Last summer, in the middle of the California growing season, we moved. The garden in my old place was in full swing when we packed our bags and headed up the road. I love having fresh produce and herbs, so I did my best growing in containers through the summer and most of the winter. Container gardening did allow me to learn about my new growing zone and unique micro climate without making a commitment. In a span of a few months we had critters, pests, drought, marine layer - the list could go on but I did have successes too.
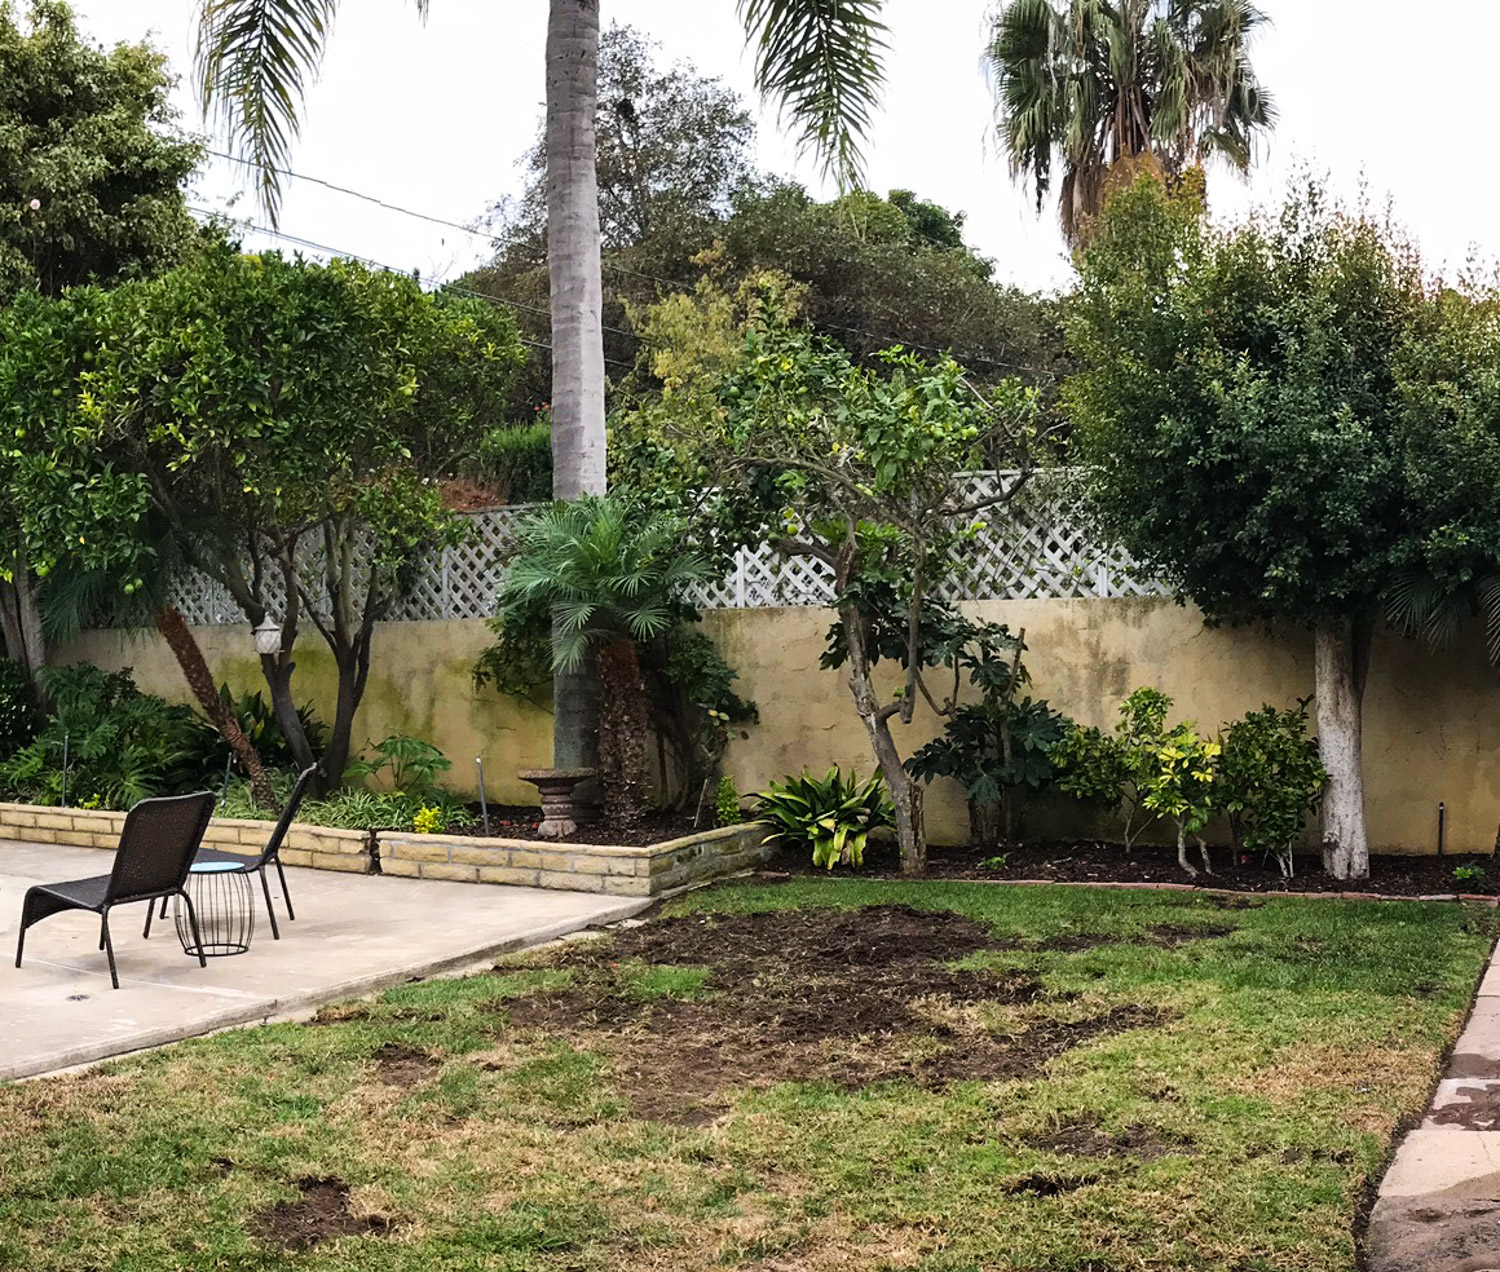
The sad state of my garden upon arriving at our new home.
Along the way Gardener's Supply Company, in Vermont, asked if I would be interested in testing a new raised bed product they were introducing in February, called Cedarlast. Well, after thinking about it for a second, I said, "Yes!" You see, I have loved Gardener's for years and I mean years. Initially, they were a trusted resource for product and guidance and later I became one of their product testers. I knew that even in the testing phase their product would be good and I was not disappointed.
All of this is just background and the real thing I want to share is how we made it happen. Yes, it included some heavy work, but I was lucky to have a husband who was an enthusiastic second pair of hands, Gardener's was there for advice and I had a local plant expert and professional garden installer, Andy Vaughan, available and willing to help.
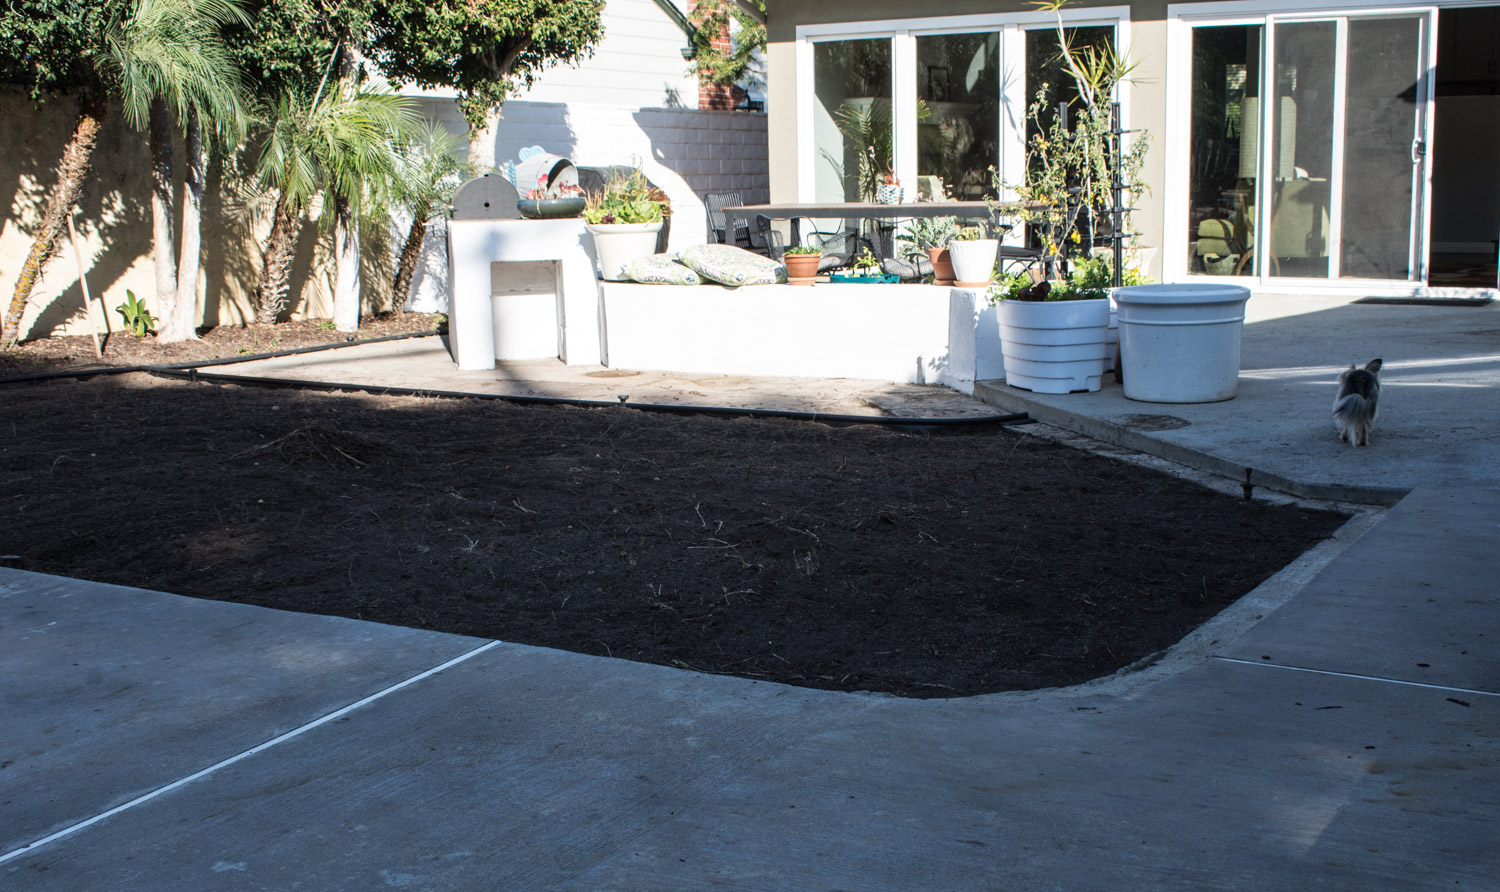
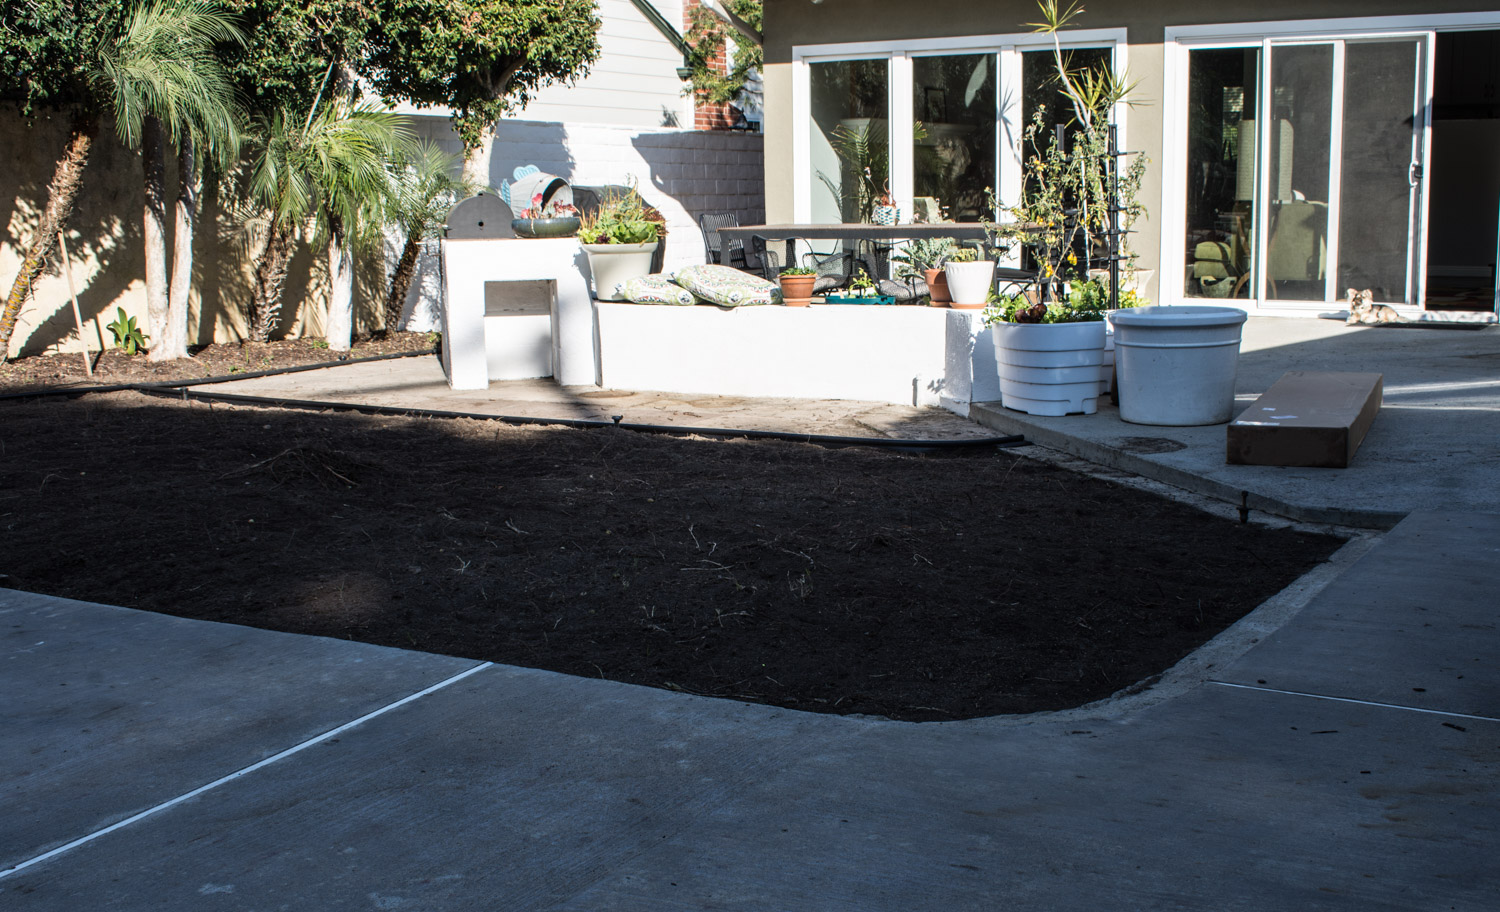
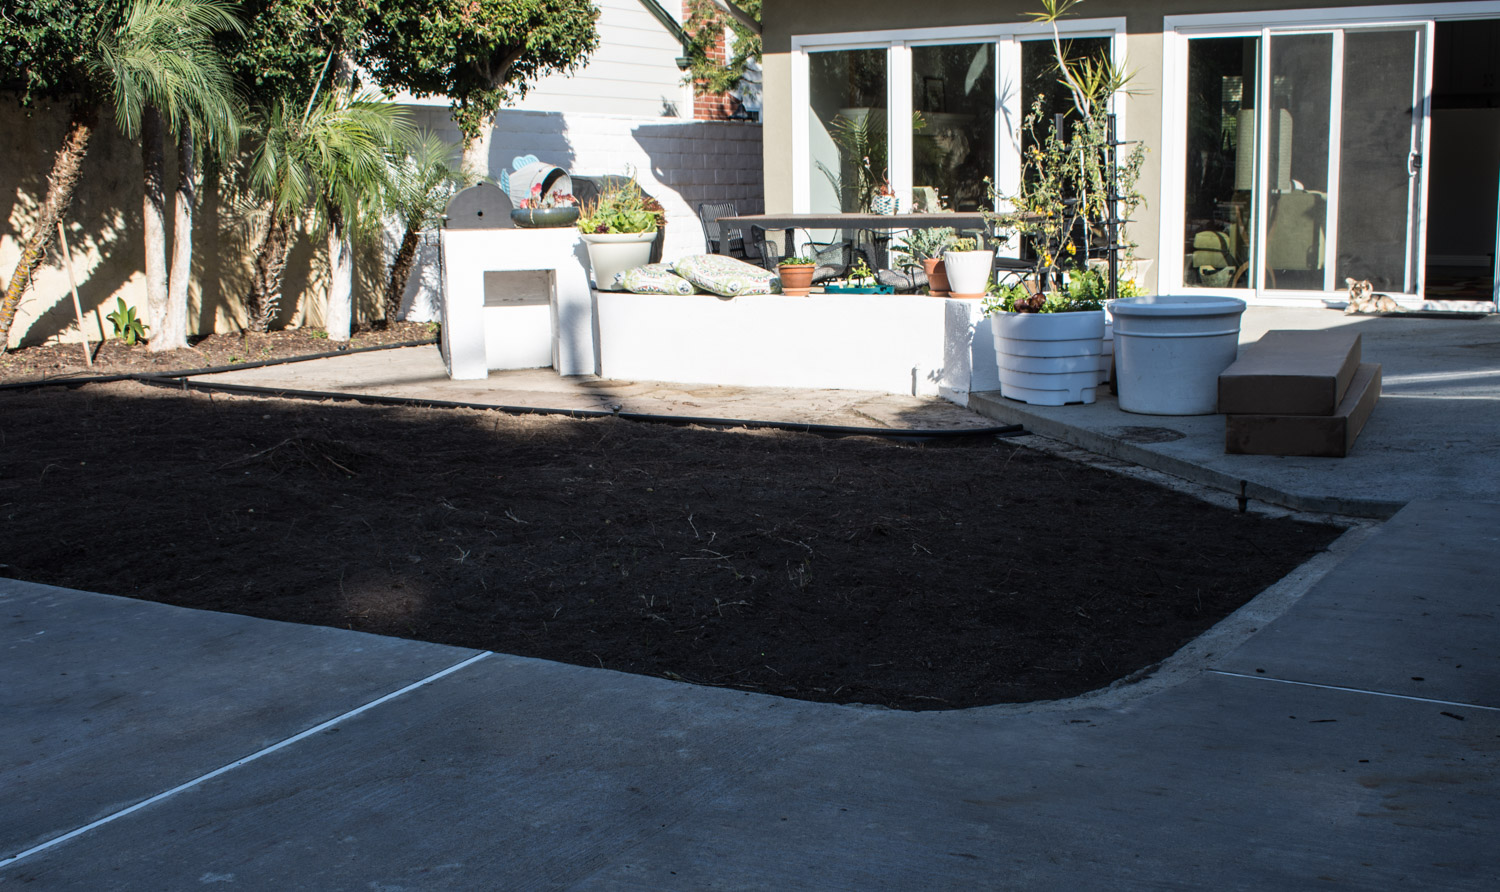
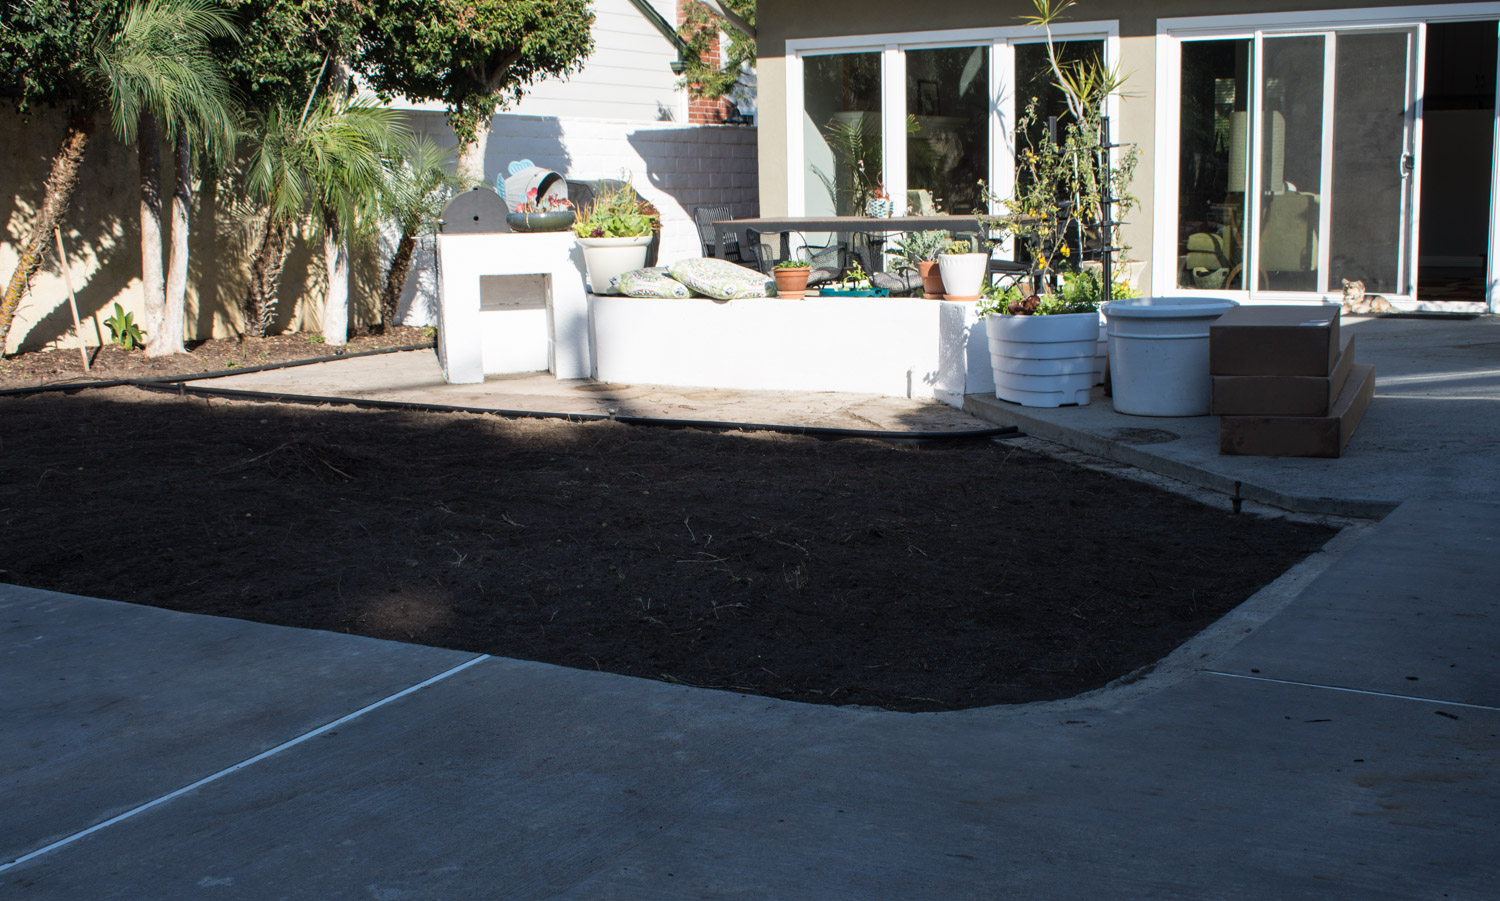
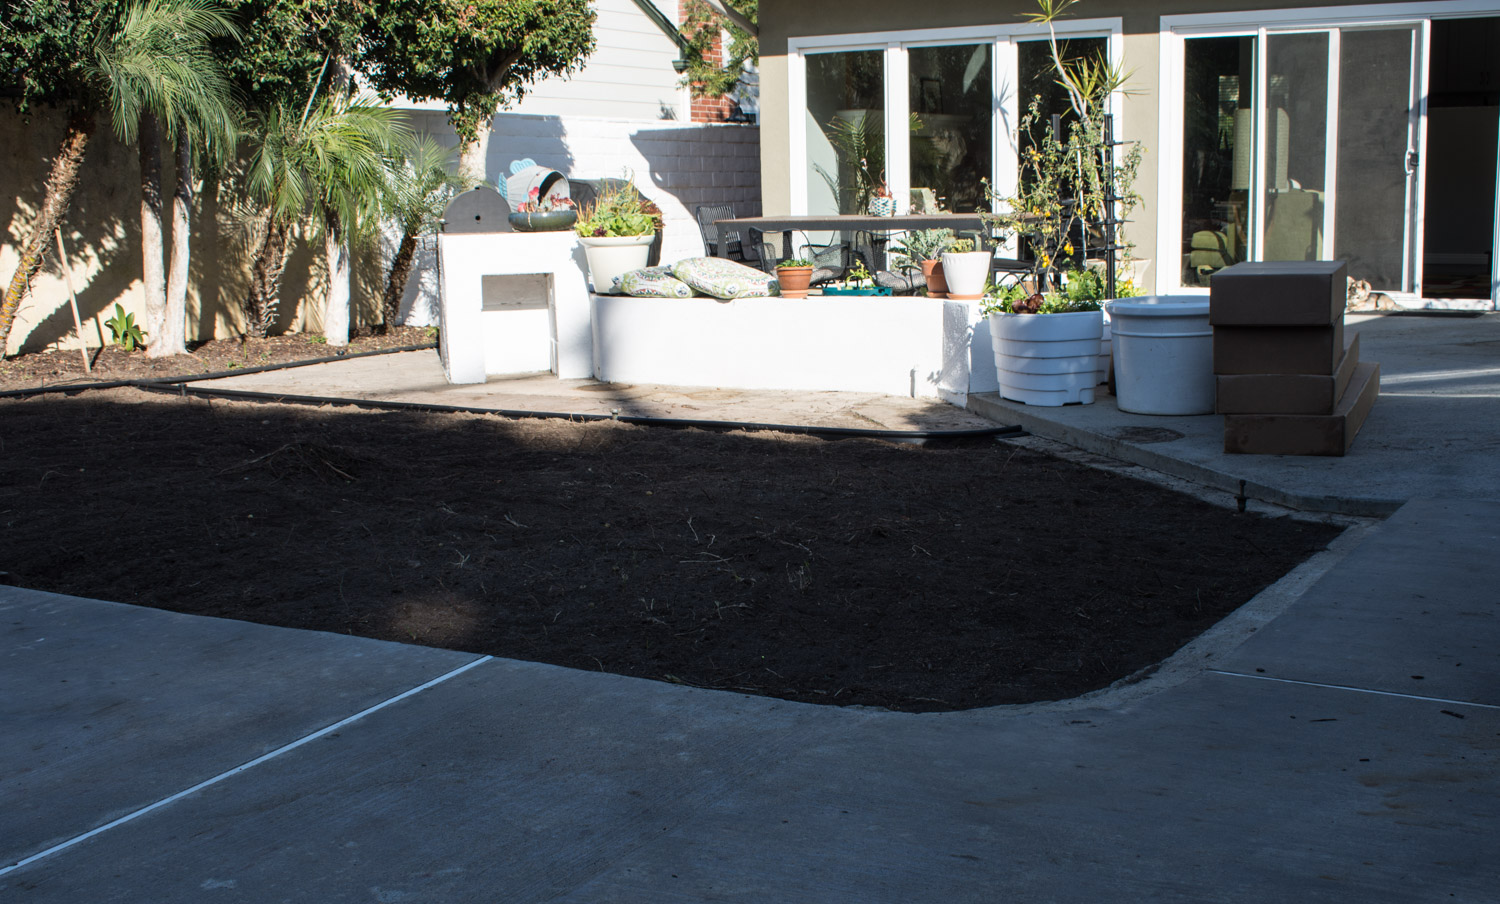
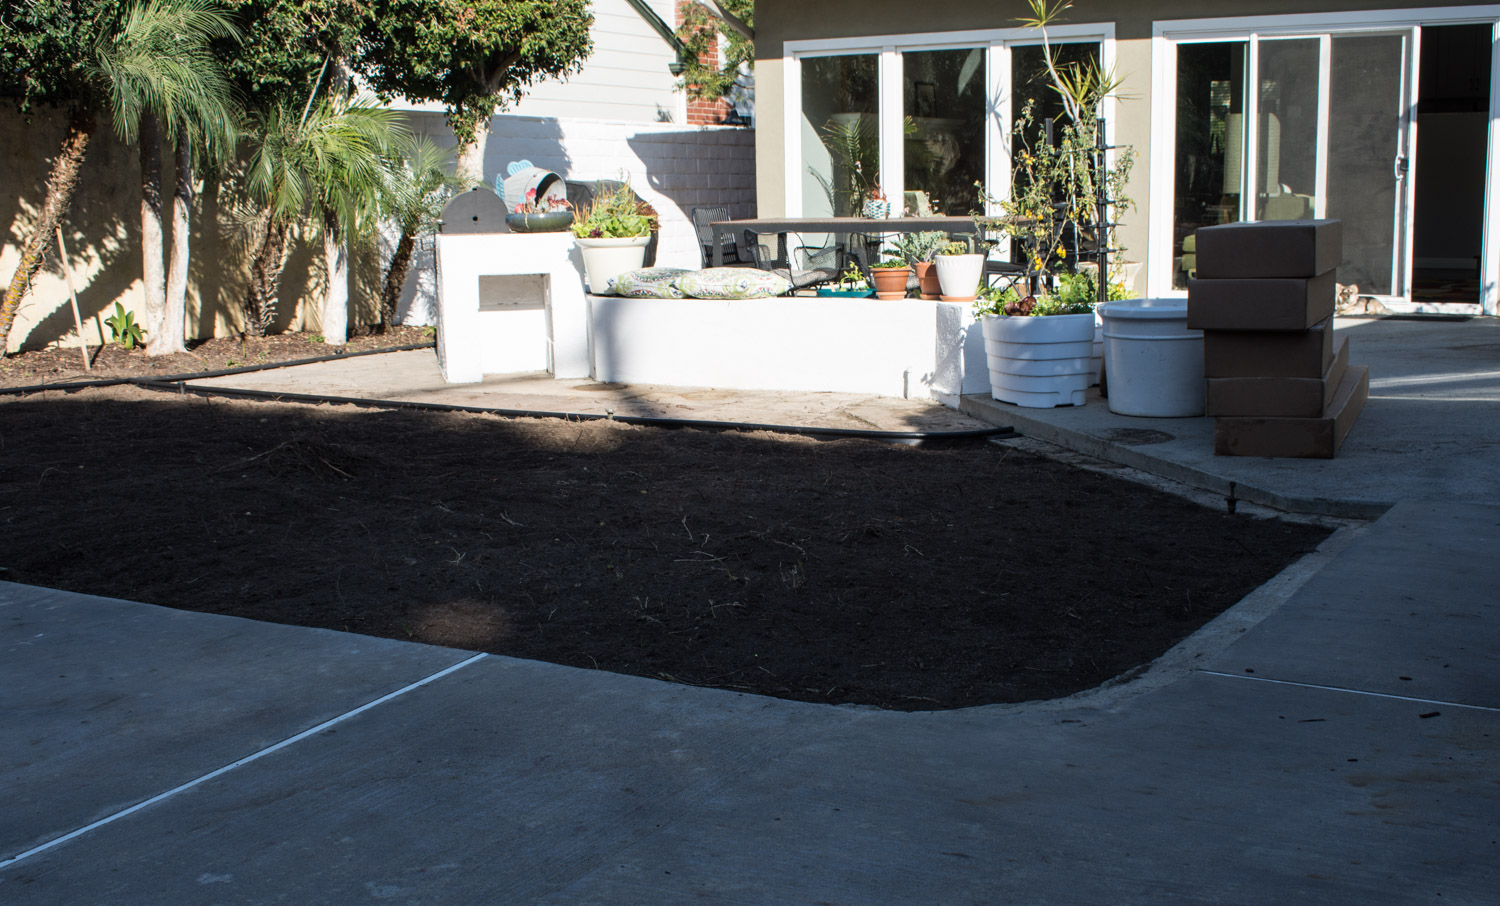
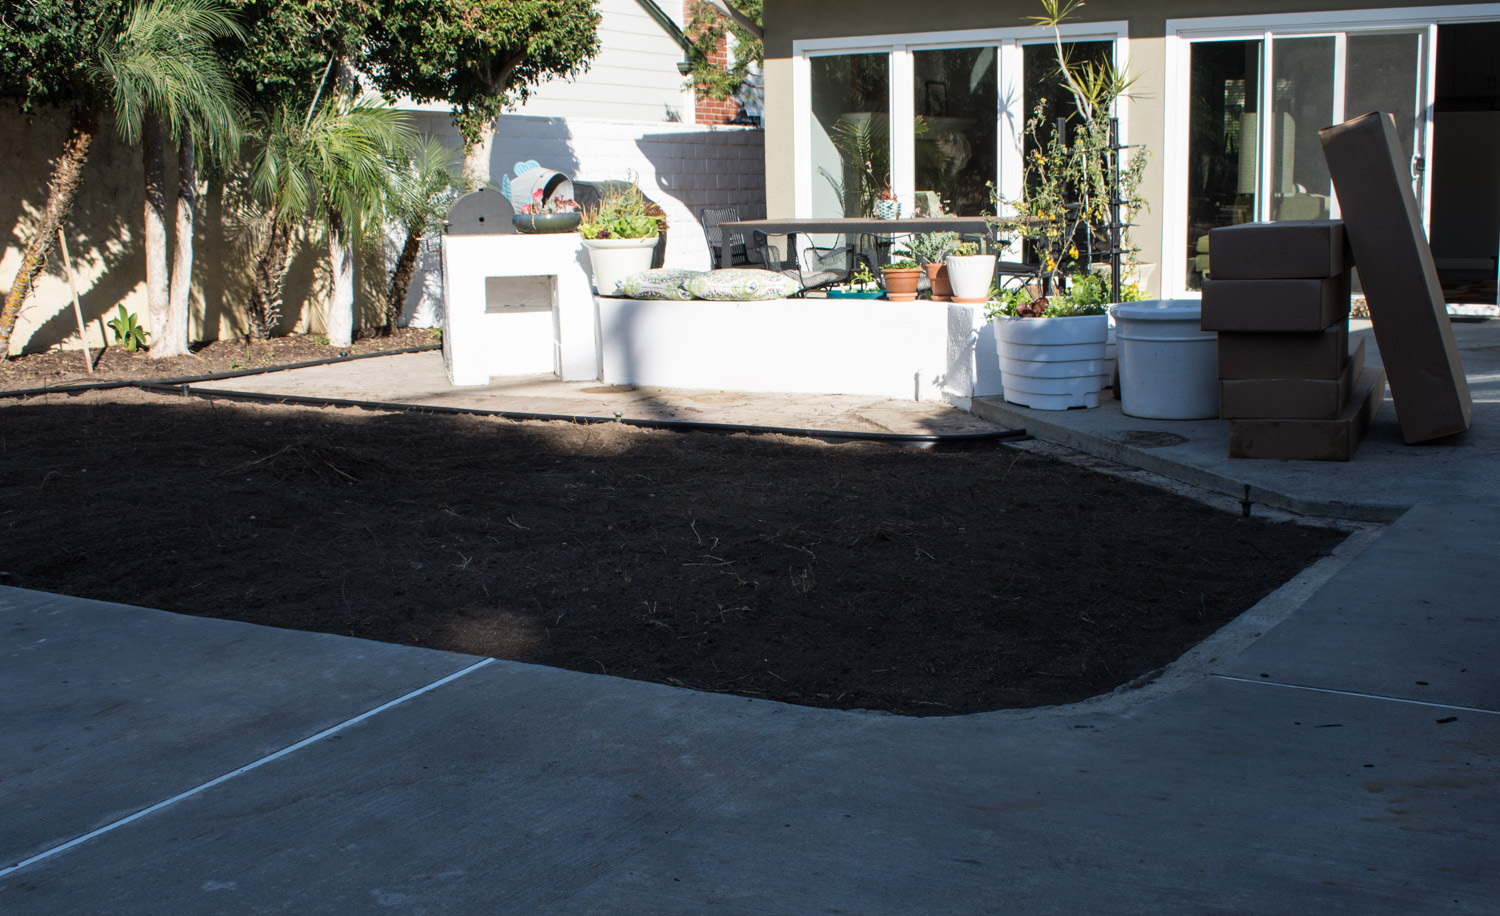
Before. Grass removal already started by visiting raccoons!
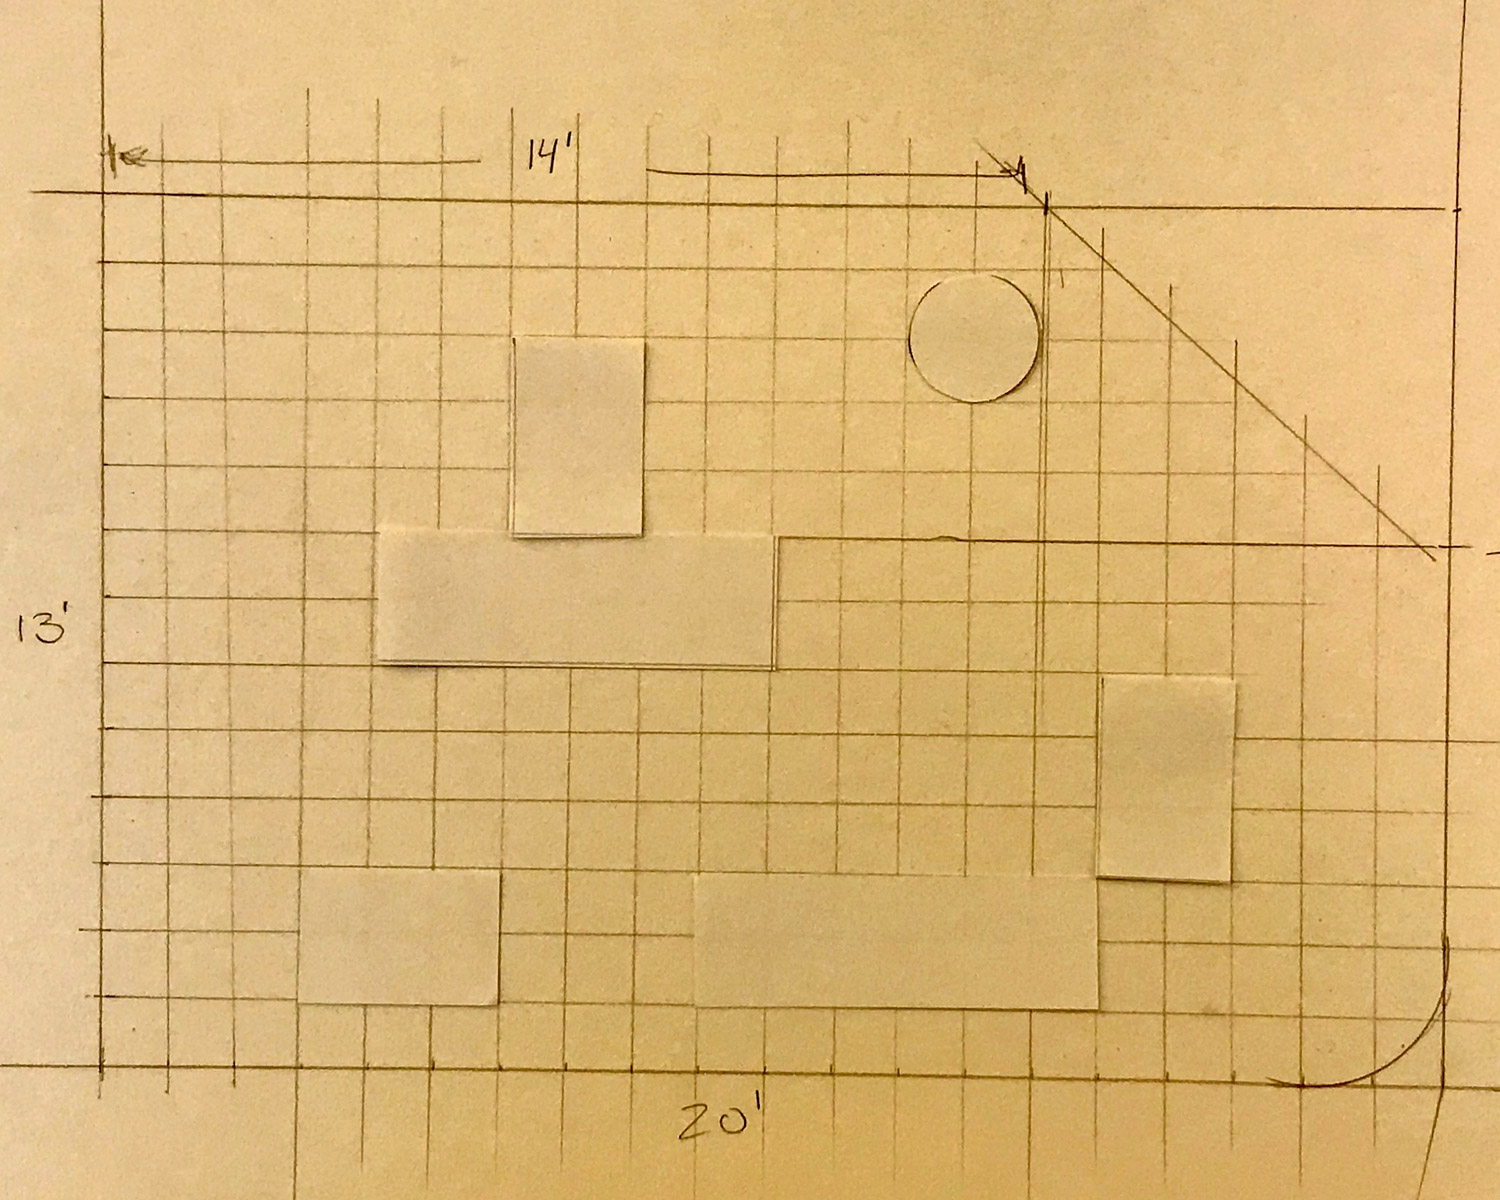
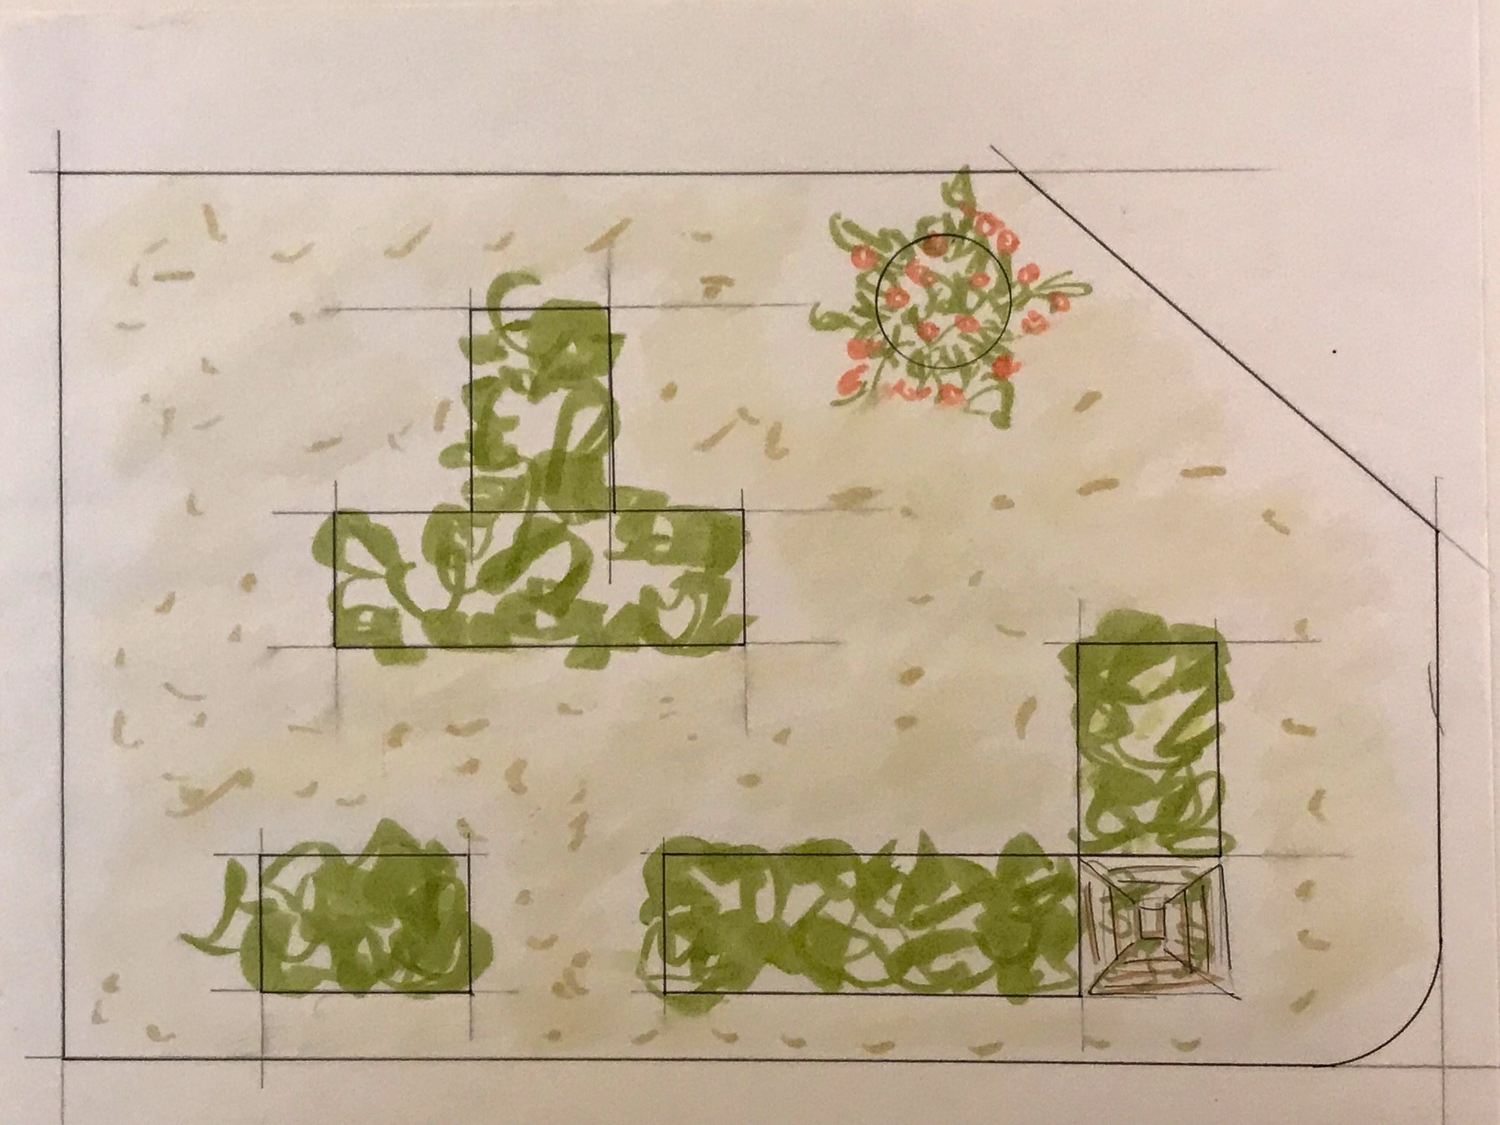
We decided to give up the tiny patch of grass in our backyard for our new vegetable garden. This spot was chosen because it gets the best sun and as a bonus it already had irrigation. The area would be part of our living and entertaining space. Our living room and kitchen overlooks the area, so, looking good was as important as function. To help with planning, I measured the area, drew a to scale map and made paper to scale cutouts of the available raised beds. I would be working with beds that were 2'x6' and 2'x3.' There were also a few bonus pieces I could potentially use too, like an obelisk.
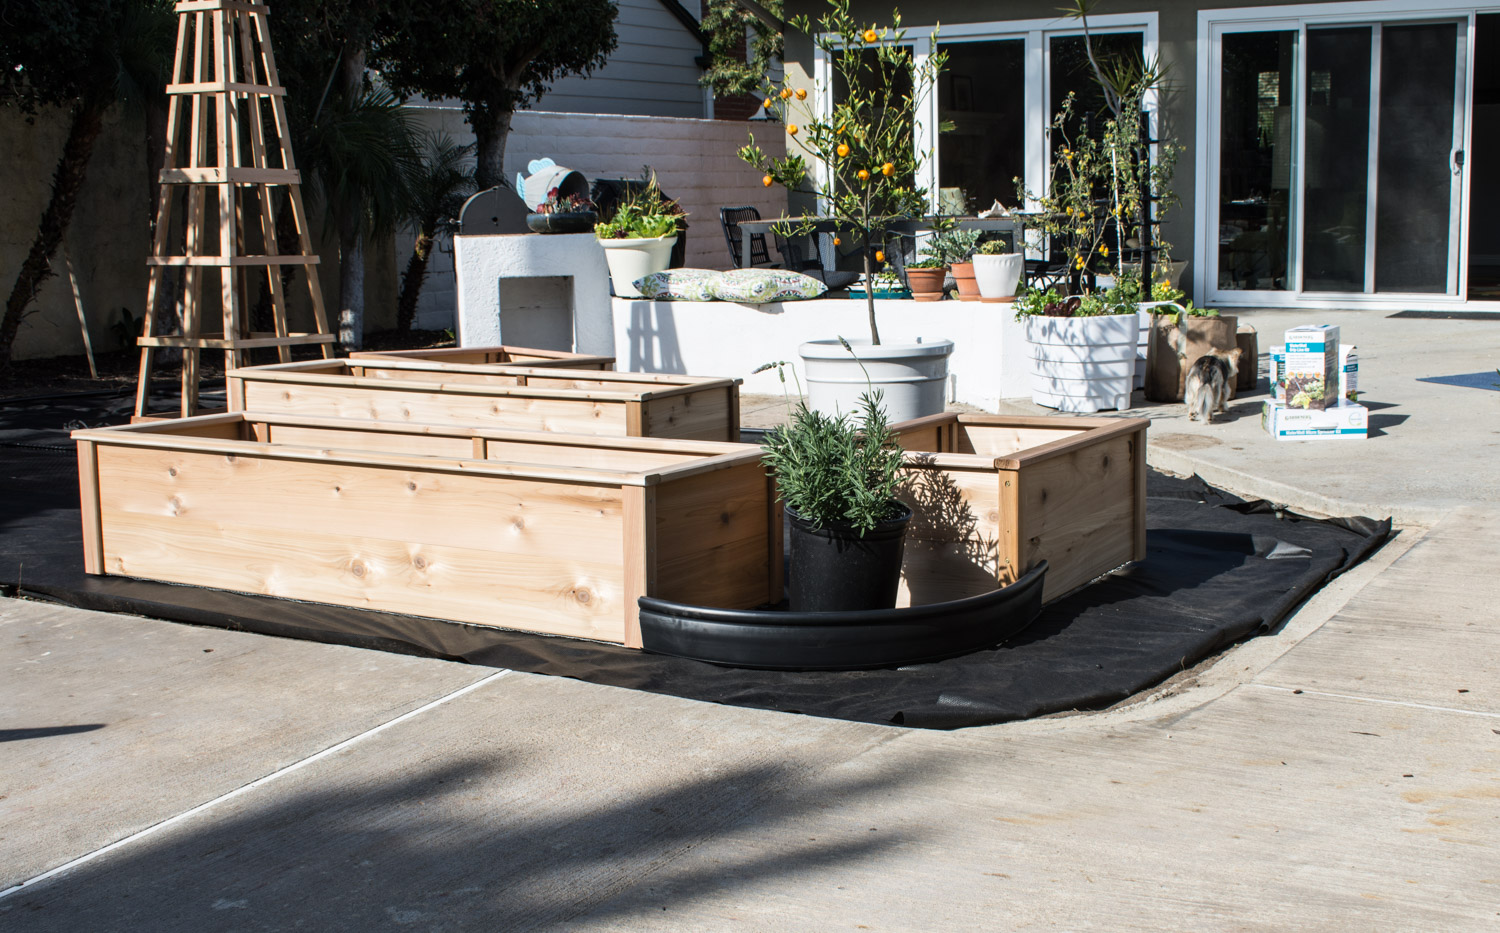
By making a scale drawing and models, I was able to move the parts around and figure out the best design. For me, it seemed the parts just fell into the right places and gave me everything I had on my wish list:
space between beds for a wheelbarrow
an area of shade so I could extend my growing of greens in our hot California summer
a space for my container dwarf Mandarian tree
visual appeal by varying heights and spacing
areas in between beds for ground planting some larger plants
the obelisk - because every garden needs a showstopper
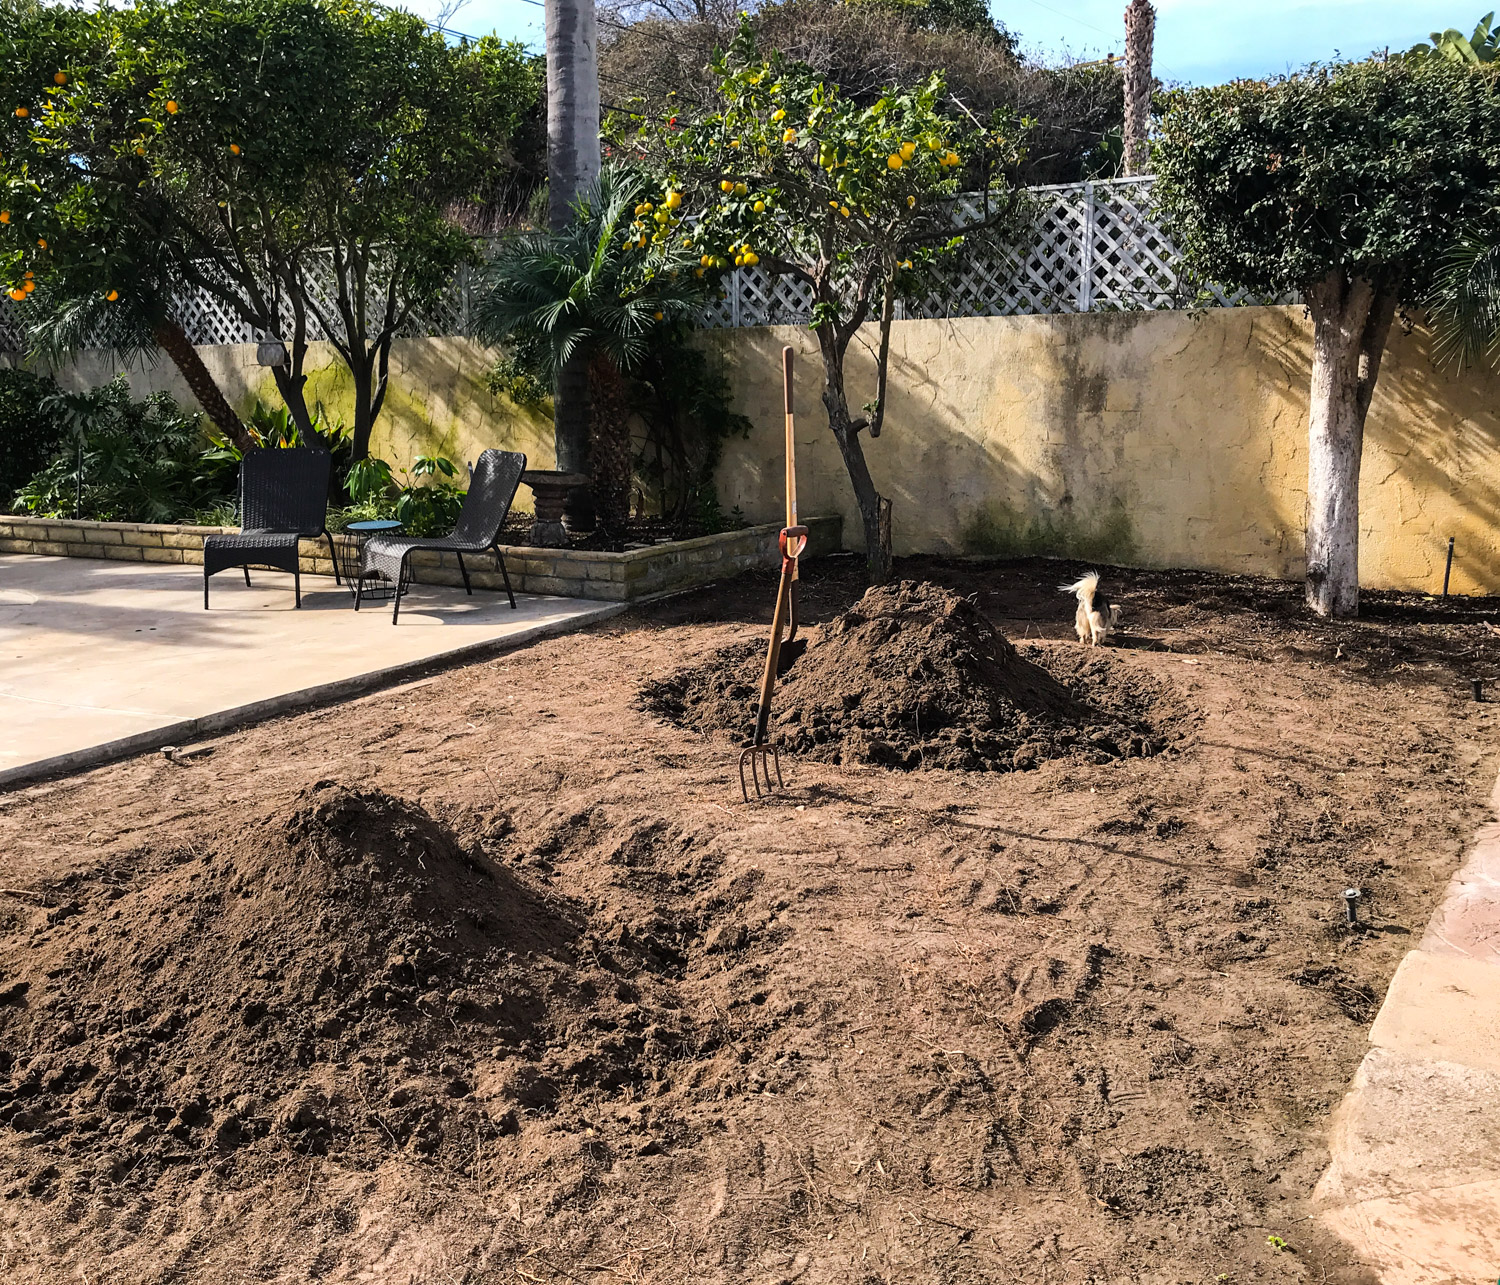
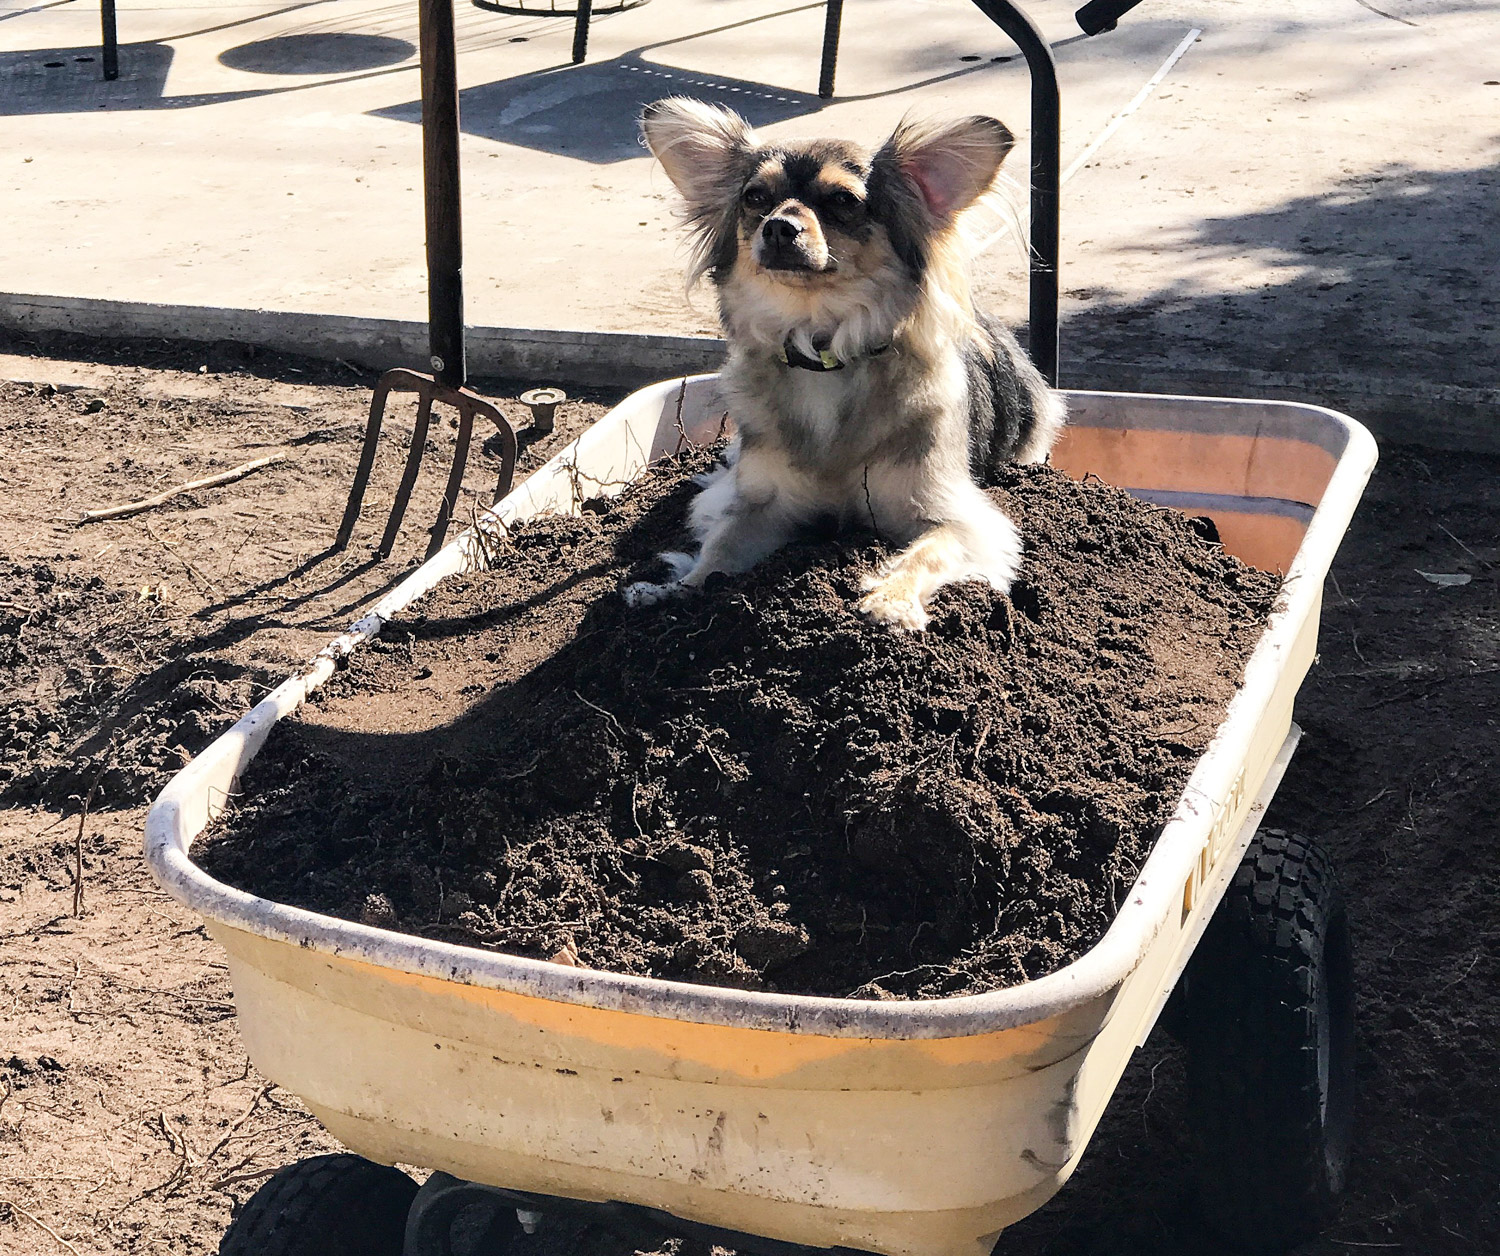
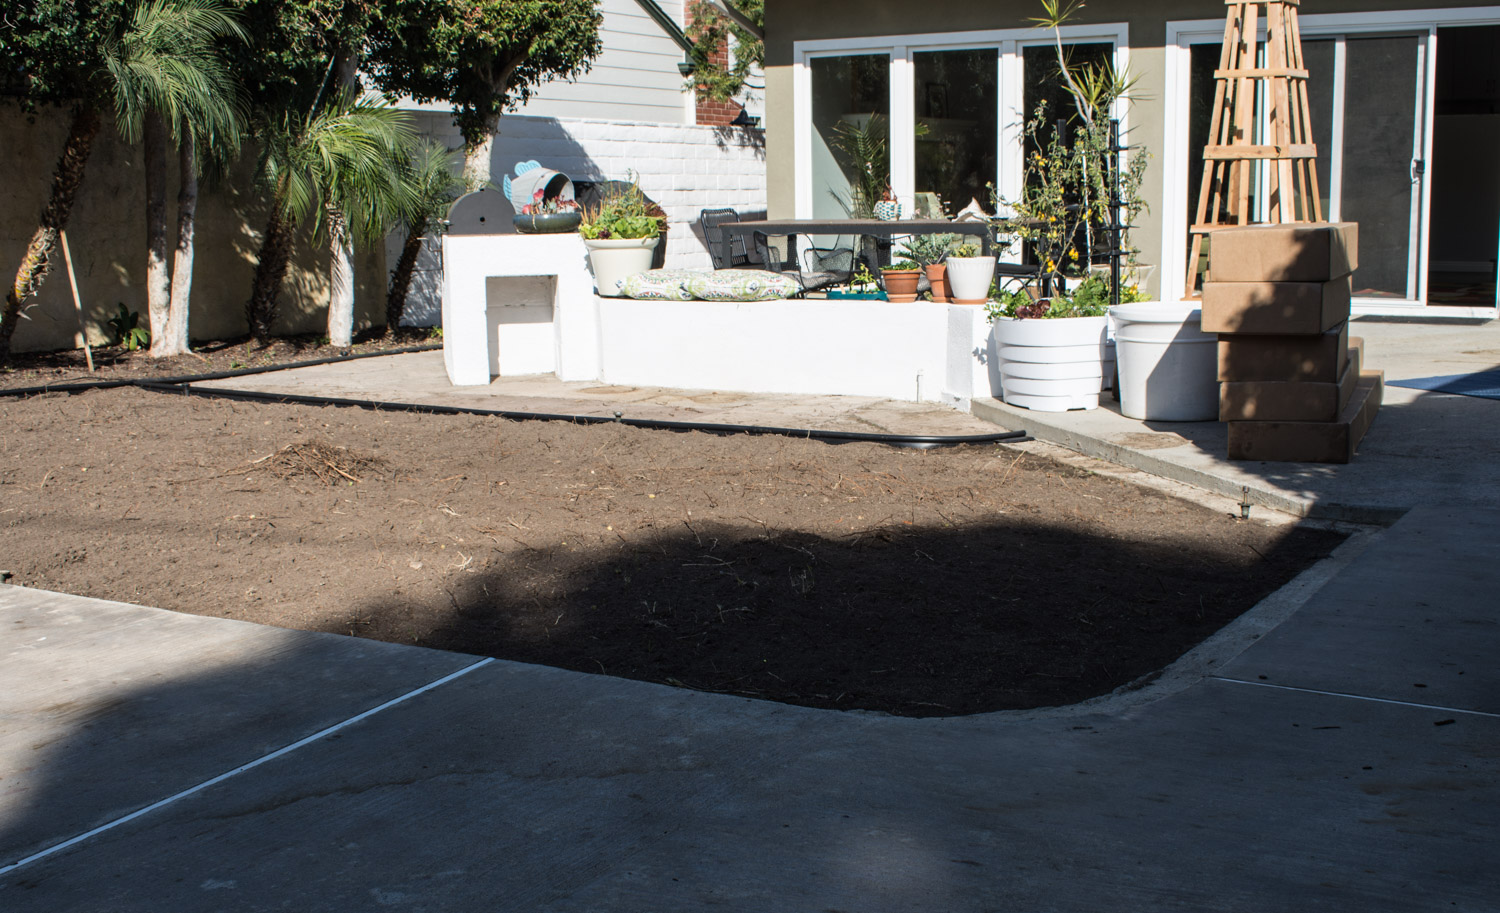
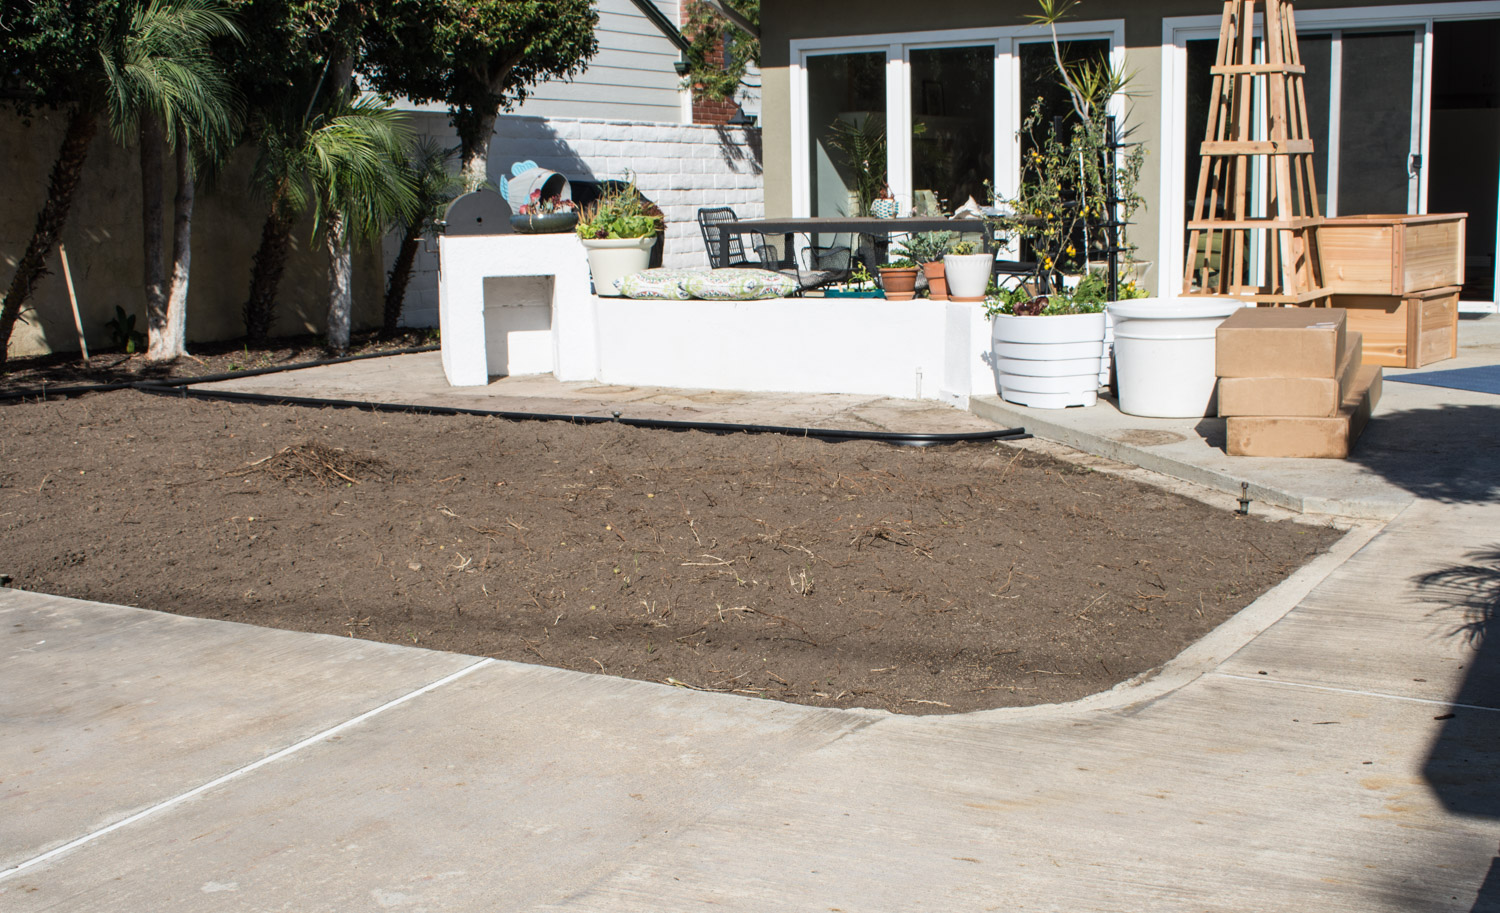
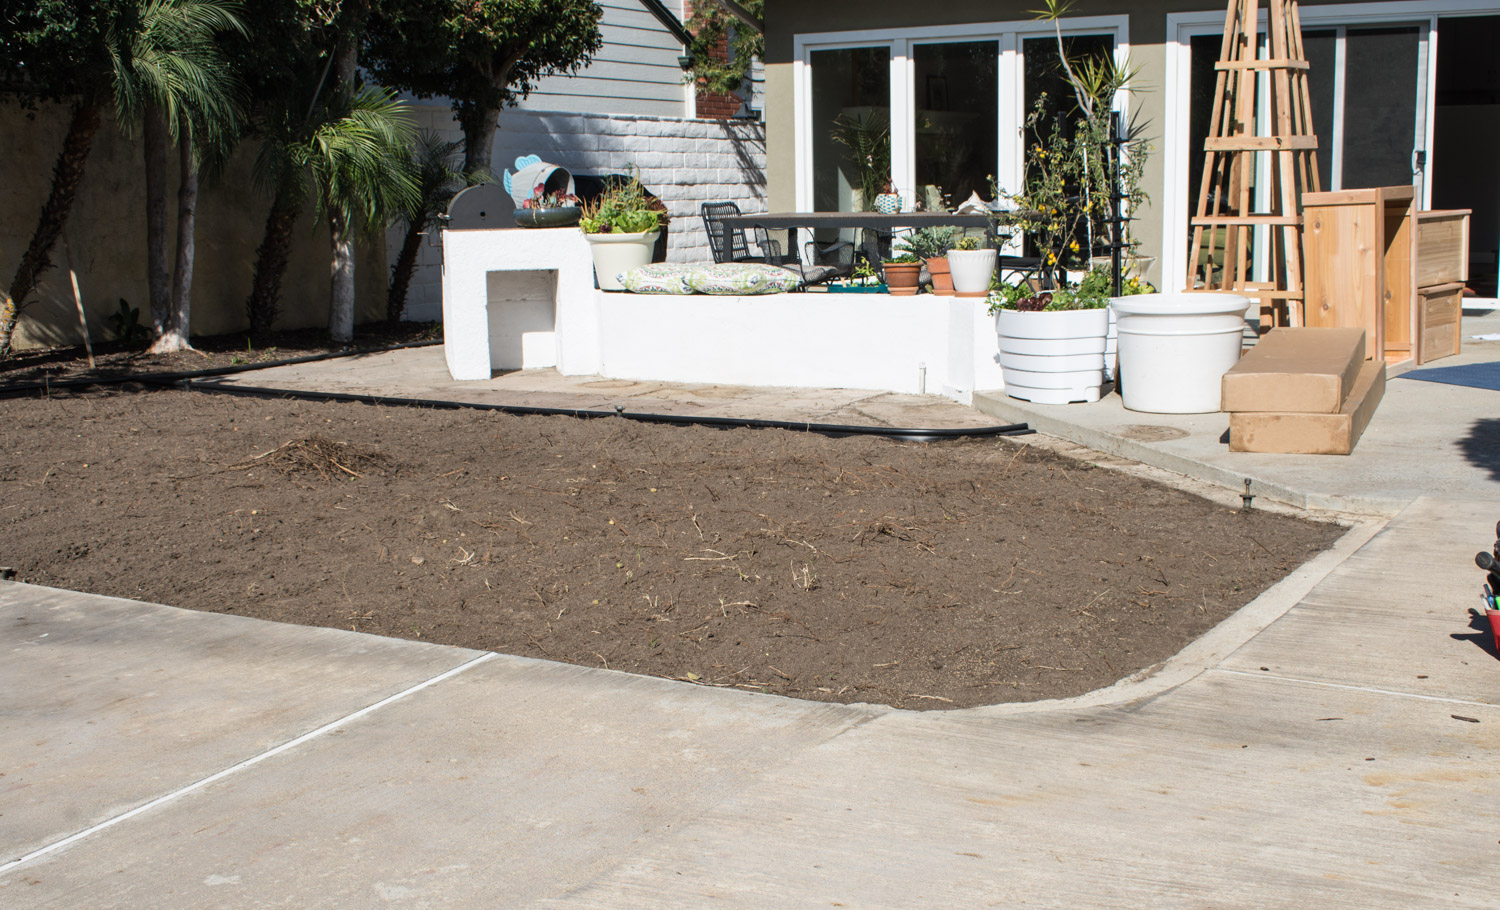
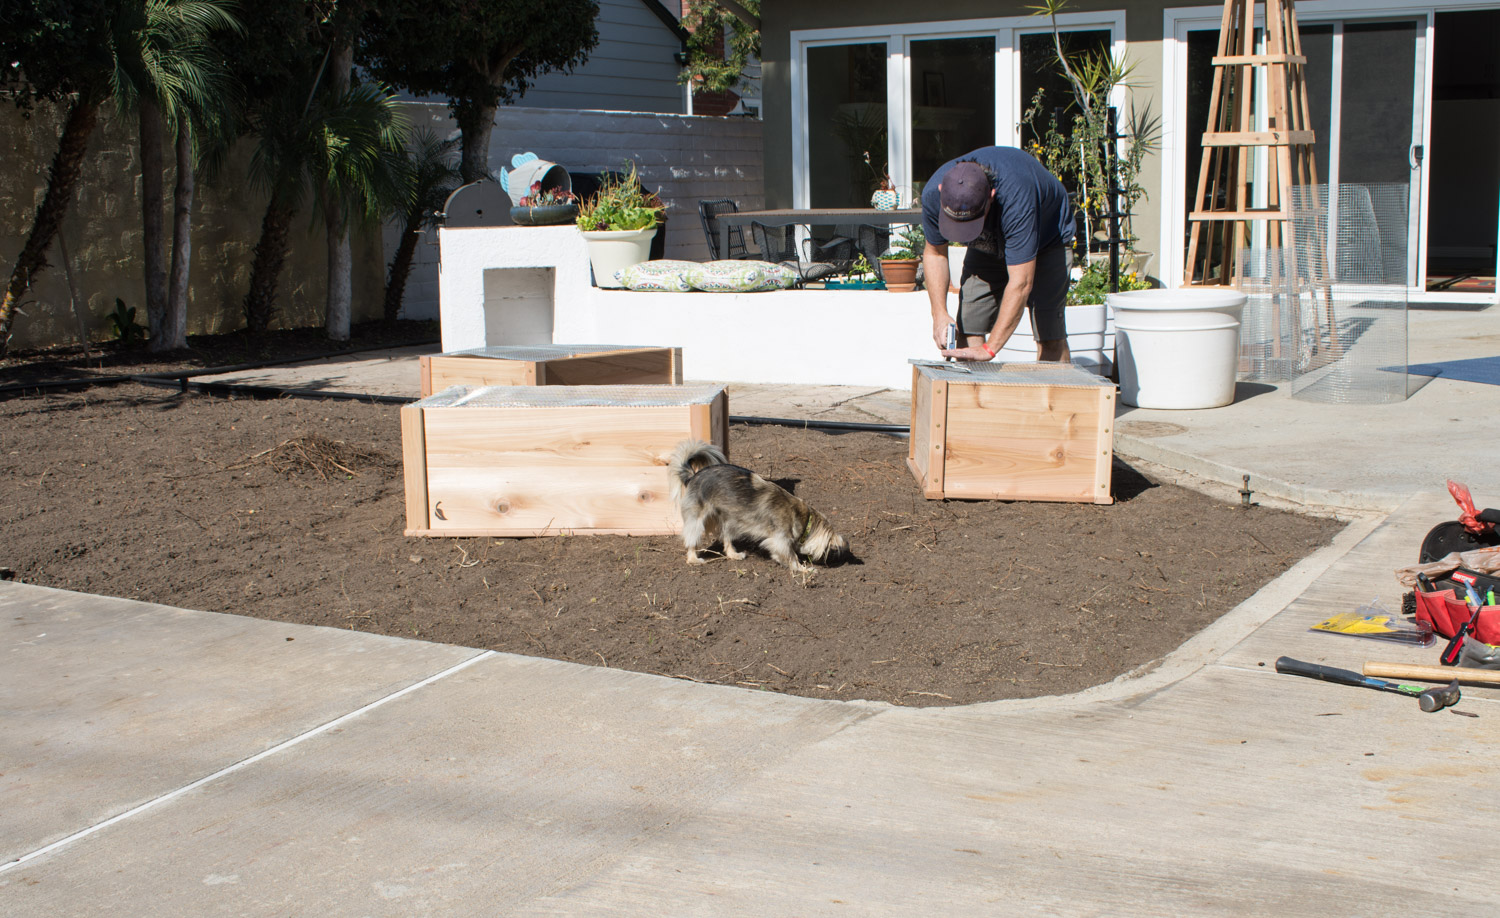
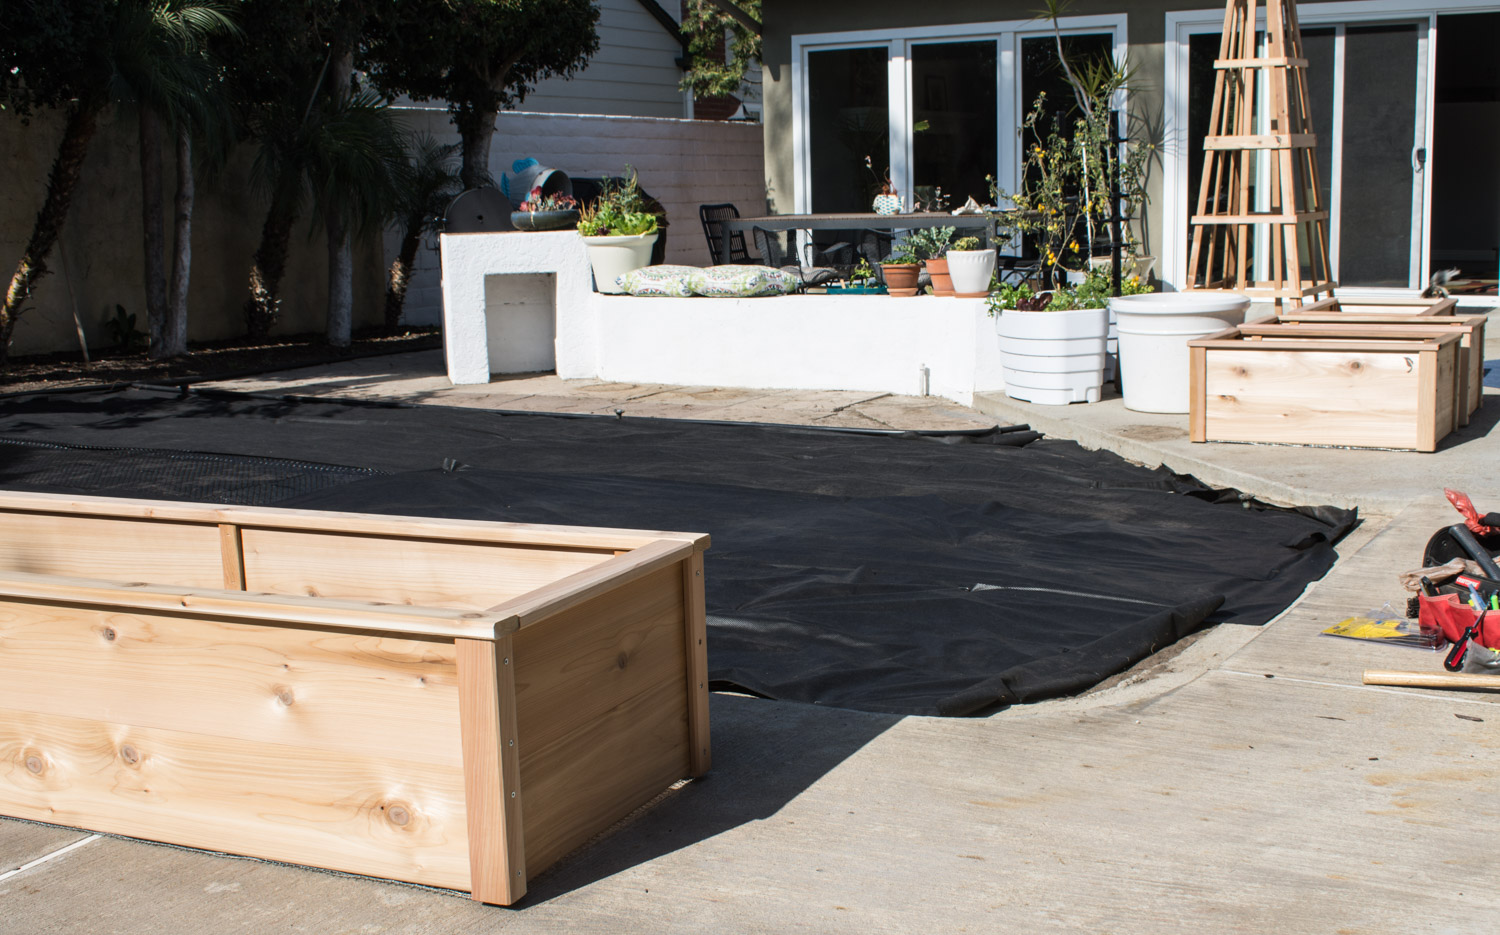
We had one month to prepare the area before the raised beds and obelisk would arrive. That allowed for a relatively leisurely pace of grass removal, root removal and leveling. All the work we put into the prep was sooooooo worth it. My husband was insistent on getting the land as level as possible, where I was willing to do just enough. In the end, he won and here it is in writing - he was right! We ended up moving 30 wheelbarrows of dirt to other areas of our yard. While this seems like a lot, you have to remember it is a one time job, never to be done again, if you get it right. We also put in an edge because we planned to use pea stone around the beds.
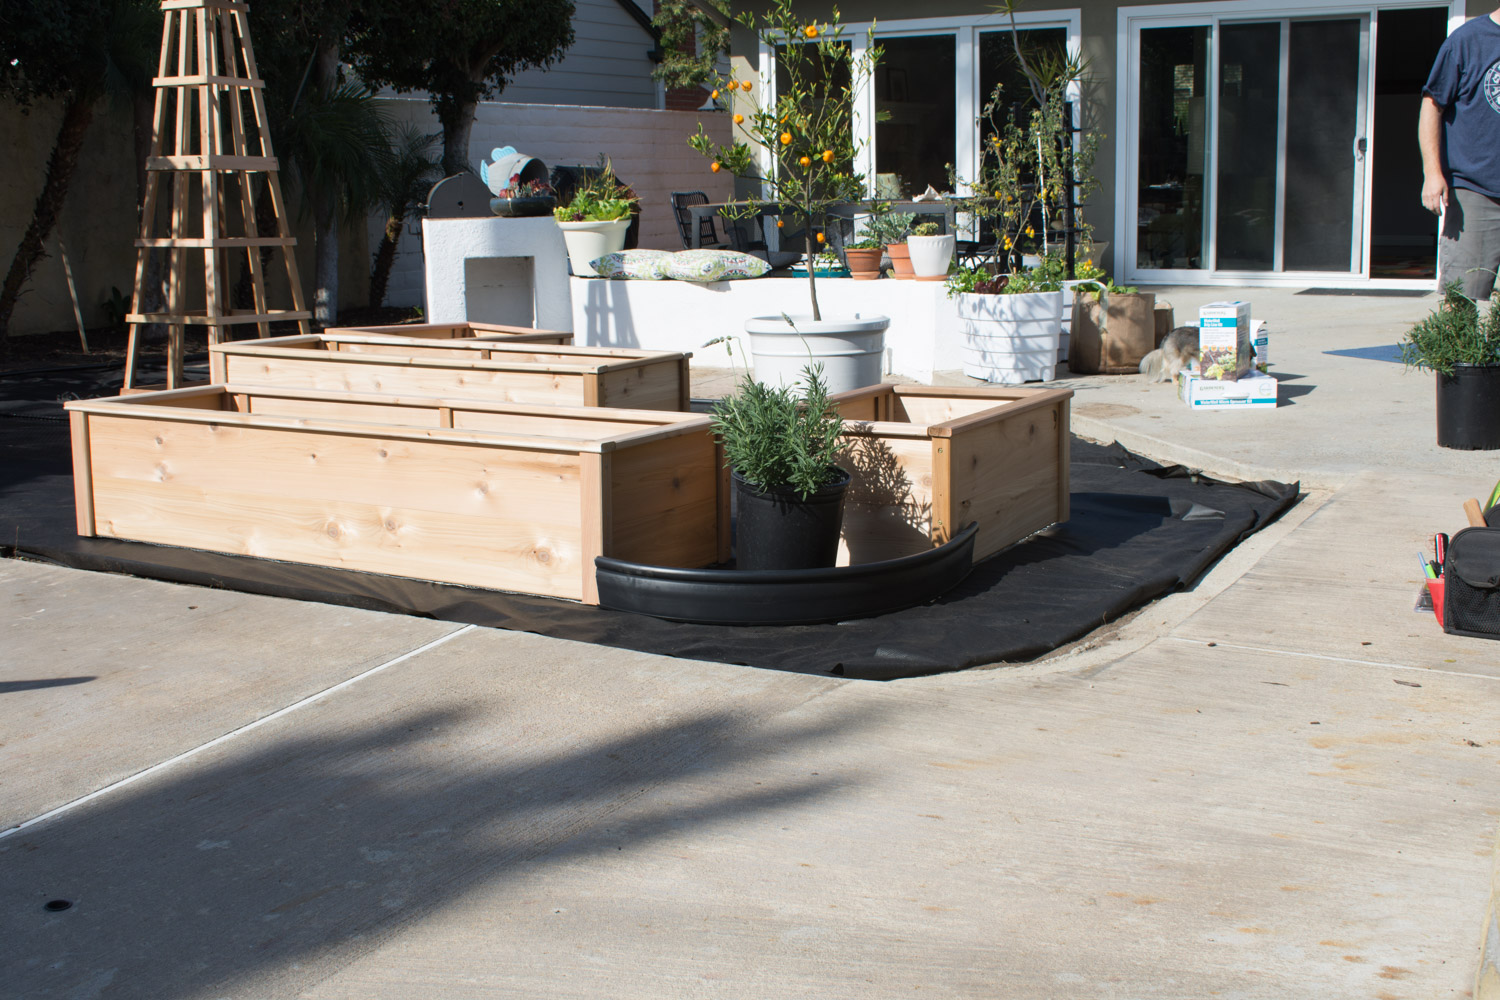
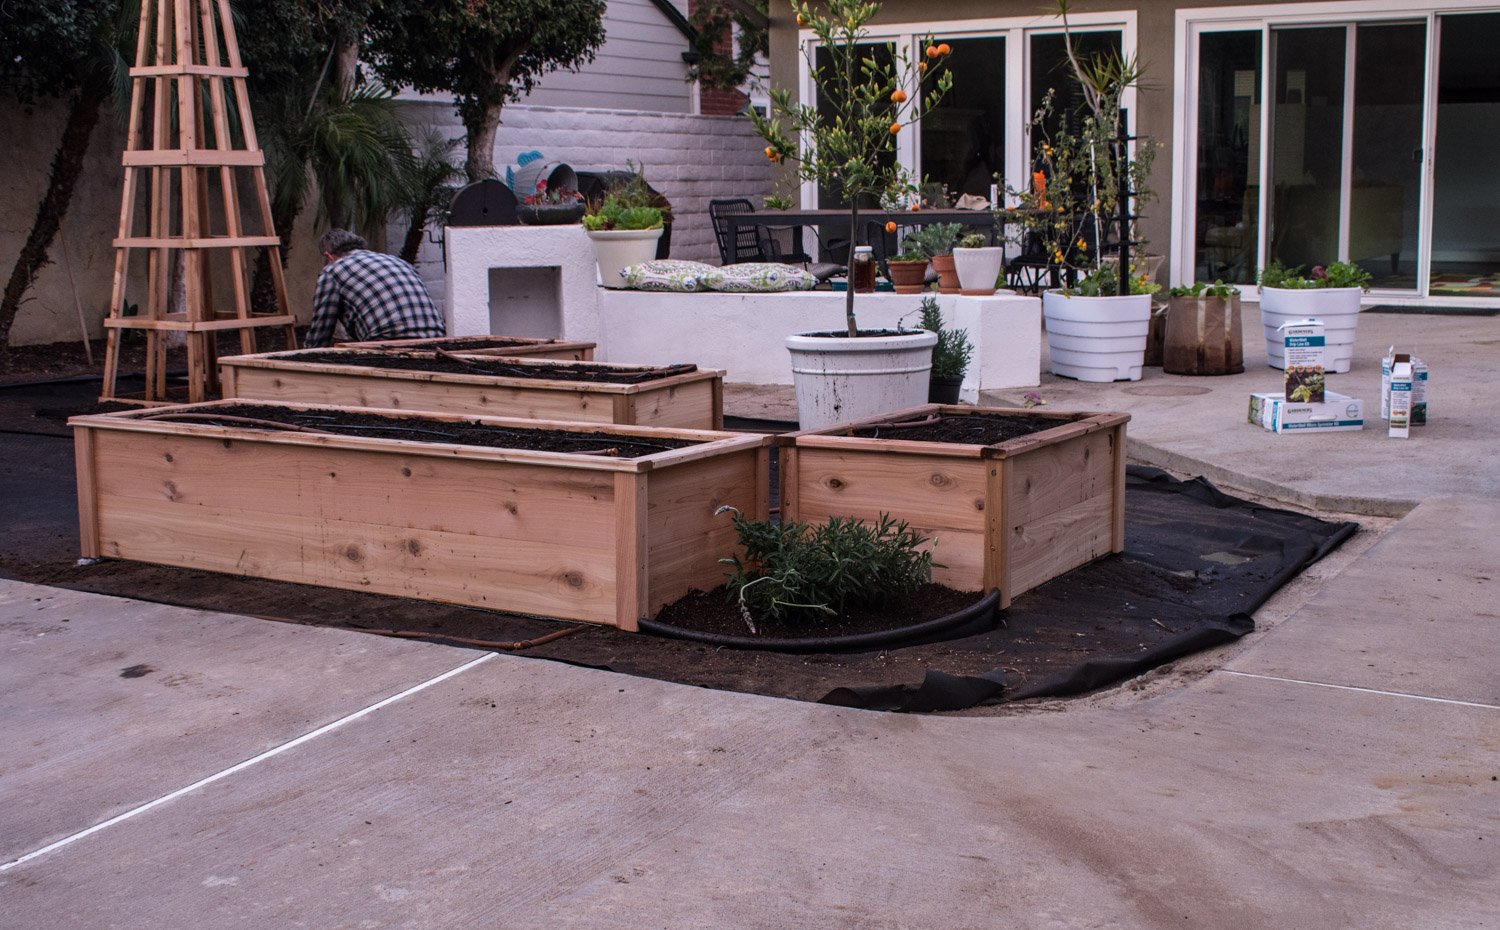
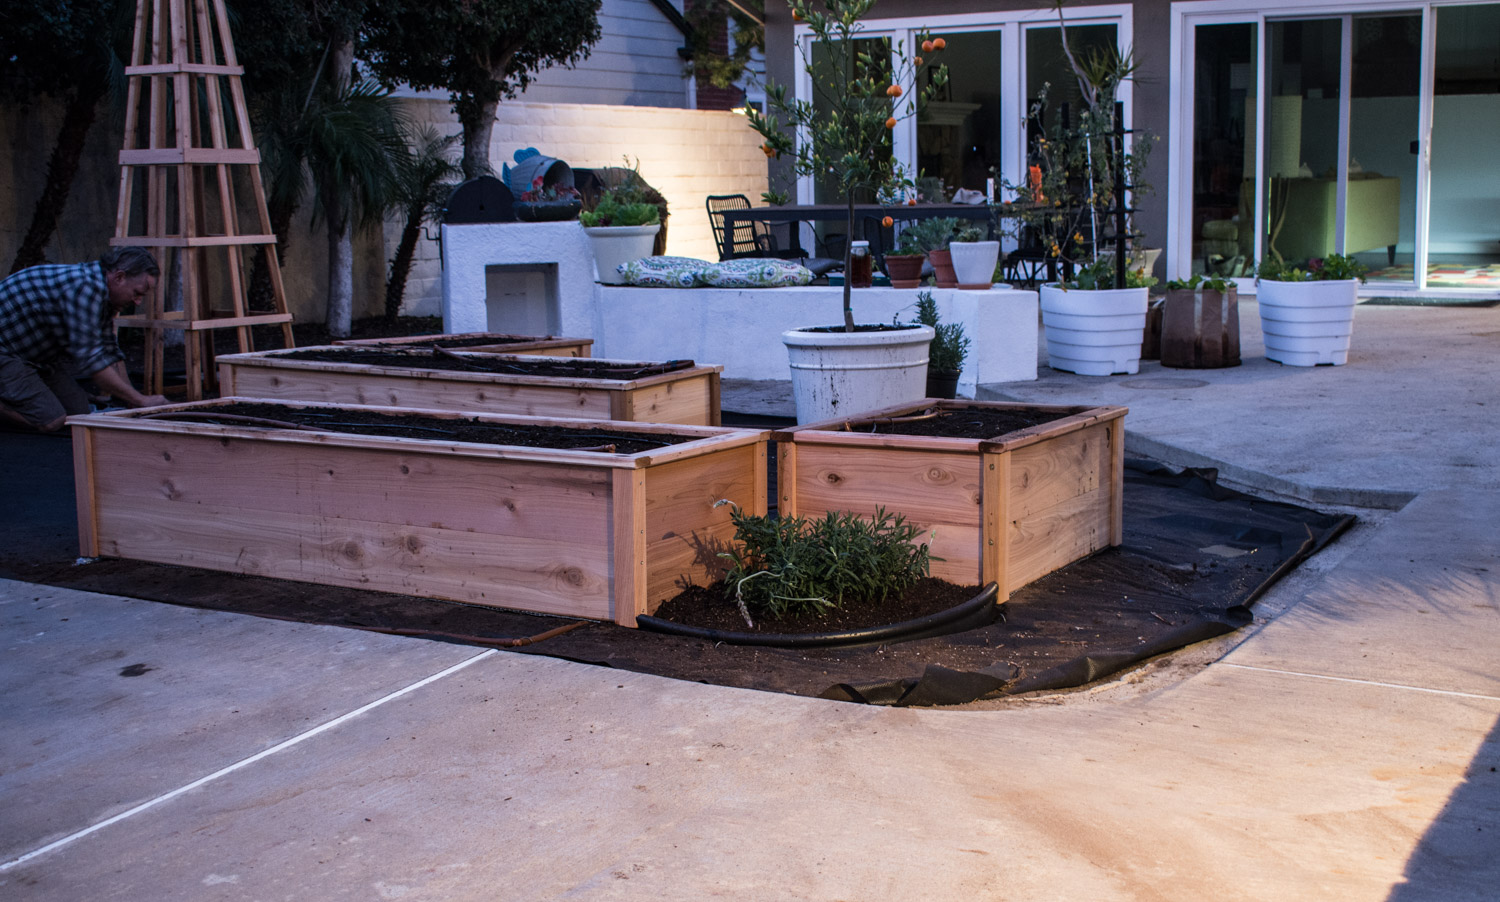
Install day was a breeze! Andy was there to help and he adapted our sprinklers to an irrigation system. Below is a time lapsed slide show of the day. In one day we assembled the beds and obelisk, put down weed barrier, added gopher mesh to the bottom of the beds, put in the soil and installed the irrigation system. Done and done! The next day we spread the pea stone and the planting began.
One long day, following some good preparation and here we are with a growing garden.
One week later!
Some good rain and sun gave us full beds at six weeks.
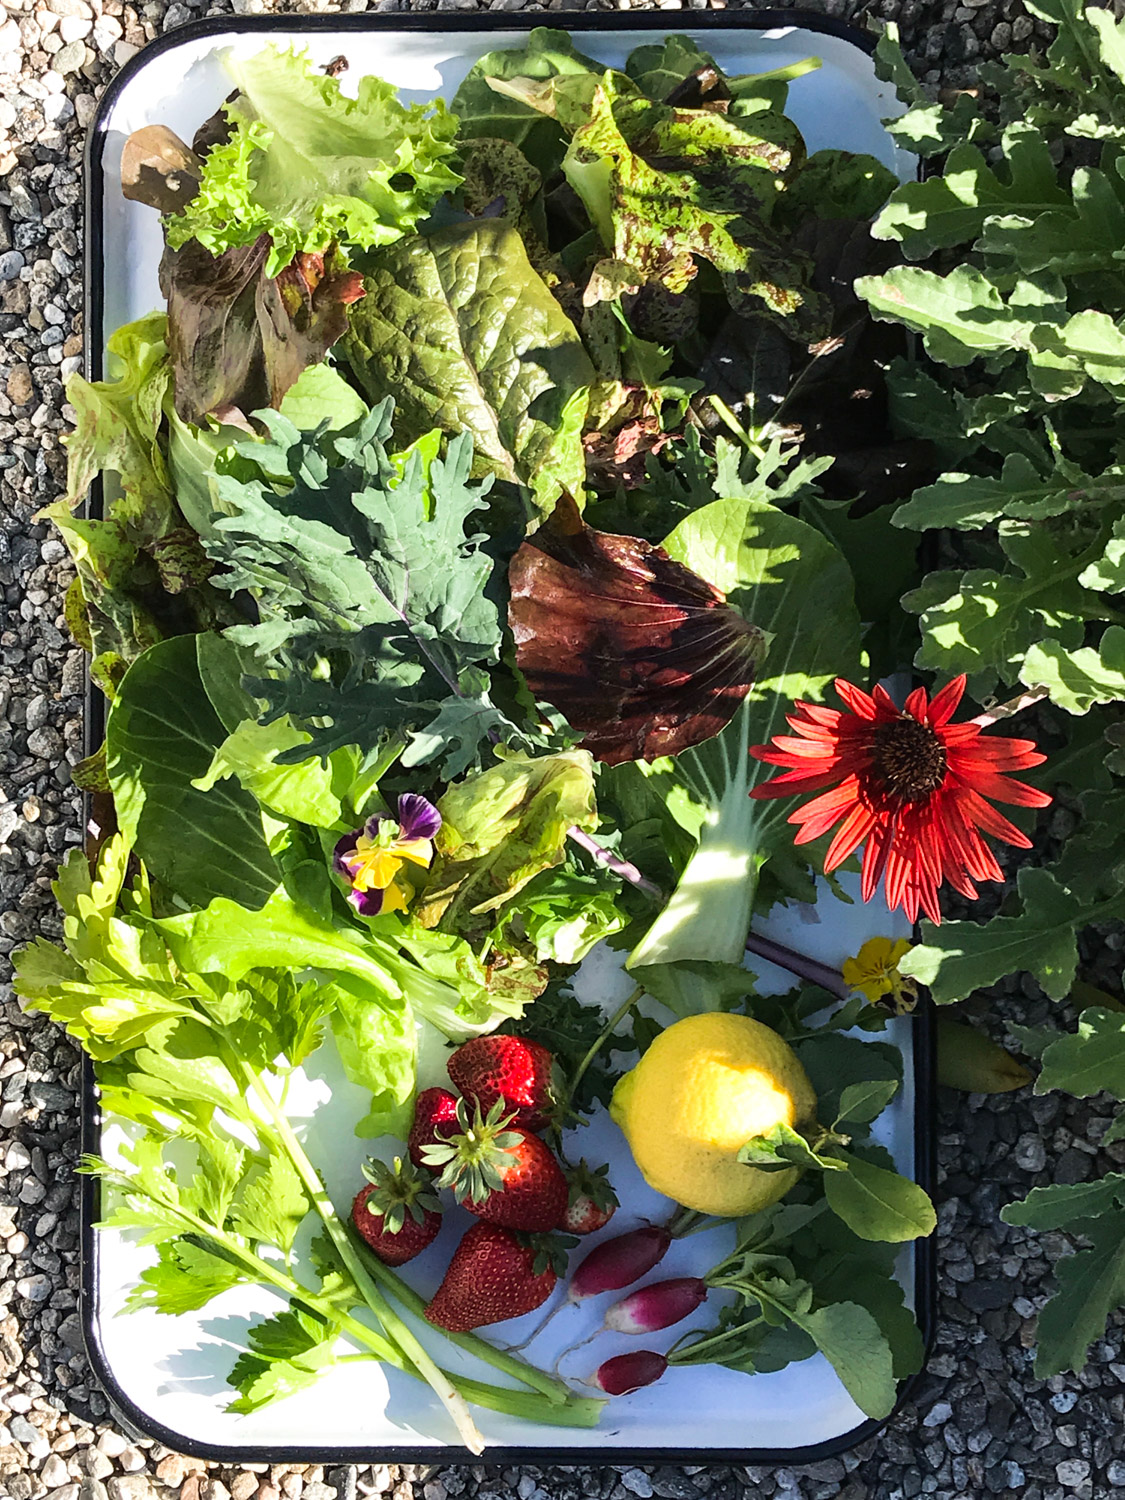
Harvest time.
There are so many right answers to getting your own vegetable garden. This one solution worked for me but that does not mean it is the only solution. There are some advantages to raised beds:
controlling the soil
separating plants for different levels of sun and shade
comfort of not being on the ground (Cedarlast beds are extra high!)
ease of reaching all the plants - no standing on your plants
the furniture grade beds - worth it - because appearance counts
cedar not only smells good but is a natural pest repellant
you can start with just one bed and add on as your needs grow
A little planning, some preparation, great product and teamwork made it an almost painless process. I will say it was actually easy. So try it! Grow something.
Notes: If you are in LA County and you need a garden expert and install pro, Andy Vaughan can be found at califarmer.com.


